Contents
What Is GitHub Actions?
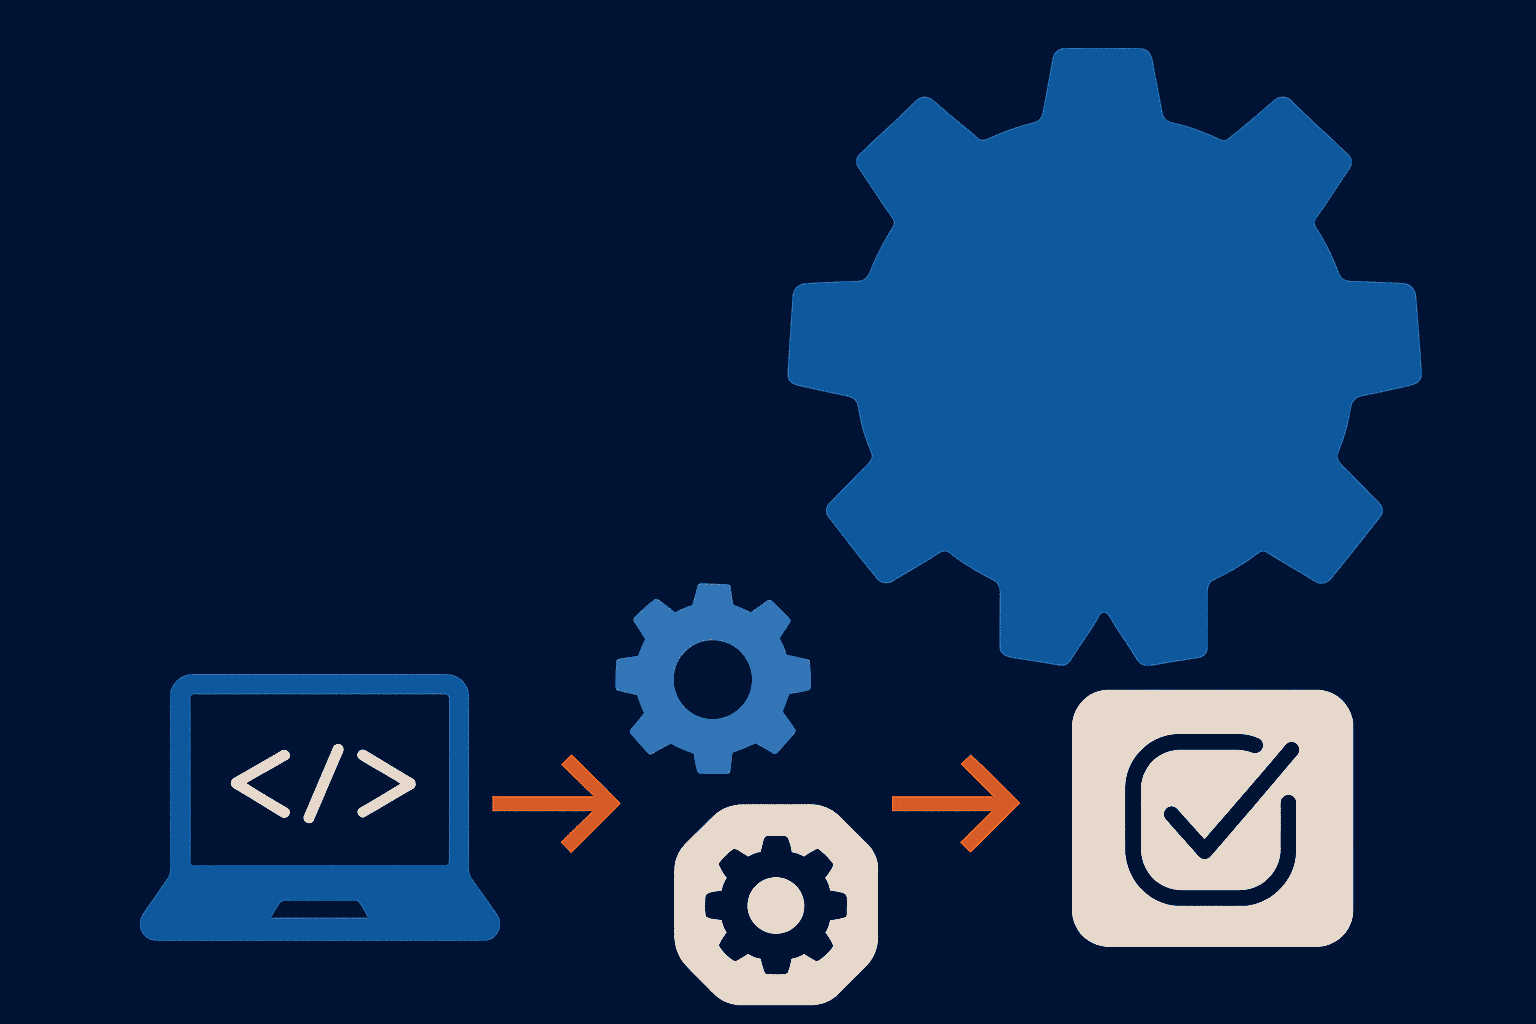
GitHub Actions is GitHub’s built in automation platform that allows you to define custom workflows triggered by events like commits, pull requests, or releases.
Think of it as having Jenkins, but fully integrated into your GitHub repo. Each workflow is written in simple YAML syntax, so you describe what should happen, and GitHub runs it for you in the cloud.
let’s see an example on automating build, test of a node.js application and deploy to Github Pages
Example : Build, Test a Node.js Application And Deploy to Github Pages
Make sure, below perquisites are fulfilled.
- A GitHub repository (public or private)
- Basic understanding of YAML files
- Node.js or any runtime environment for your project
- (Optional) Access to a deployment environment if you want to enable CD
Step 1: Create a Workflow File
In your repository, create a directory named .github/workflows if it doesn’t already exist.
Inside it, add a new file like, ci.yml.
This is where the automation magic lives.
Step 2: Define a Basic CI Pipeline
Let’s create a workflow that automatically installs dependencies and runs tests on every push to the main branch.
name: CI Pipeline
on:
push:
branches: [ “main” ]
pull_request:
branches: [ “main” ]jobs:
build:
runs-on: ubuntu-lateststeps:
– name: Checkout code
uses: actions/checkout@v4– name: Set up Node.js
uses: actions/setup-node@v4
with:
node-version: 18– name: Install dependencies
run: npm install– name: Run tests
run: npm test
Let’s break this down:
ondefines when your workflow runs — in this case, on pushes and pull requests to themainbranch.jobsdefines what tasks to run.stepsare the specific commands and actions to perform — from checking out the code to testing it.
Once you push this file, GitHub will automatically start running the workflow for every commit.
Step 3: Add Deployment (Continuous Delivery)
Now let’s make it a true CI/CD pipeline by adding deployment after the build passes. For simplicity, let’s deploy to GitHub Pages, though you can easily adapt this for AWS, Azure, or GCP.
deploy:
needs: build
runs-on: ubuntu-latest
steps:
– name: Deploy to GitHub Pages
uses: peaceiris/actions-gh-pages@v4
with:
github_token: ${{ secrets.GITHUB_TOKEN }}
publish_dir: ./build
A few key takeaways:
needs: buildensures the deploy job runs only after the build succeeds.github_tokenis a secure token automatically provided by GitHub for authenticated actions.- Never store credentials in plain text, always use GitHub Secrets.
Step 4: Check Your Workflow Runs
Head to the Actions tab in your repository. You’ll see your workflows running live. Each step logs details like setup, installation, and test output.
You can re-run failed workflows or even badge your README with build status:

Failures are not bad news — they’re diagnostics in motion. They help you spot issues before they reach production.
Step 5: CI/CD Best Practices
To keep your GitHub Actions setup clean and scalable:
- Split build, test, and deploy into separate jobs.
- Cache dependencies to speed up build times (
actions/cache). - Use branch protection rules for production deployment.
- Add environment approvals for staging or production.
A small YAML improvement now prevents major headaches later.
