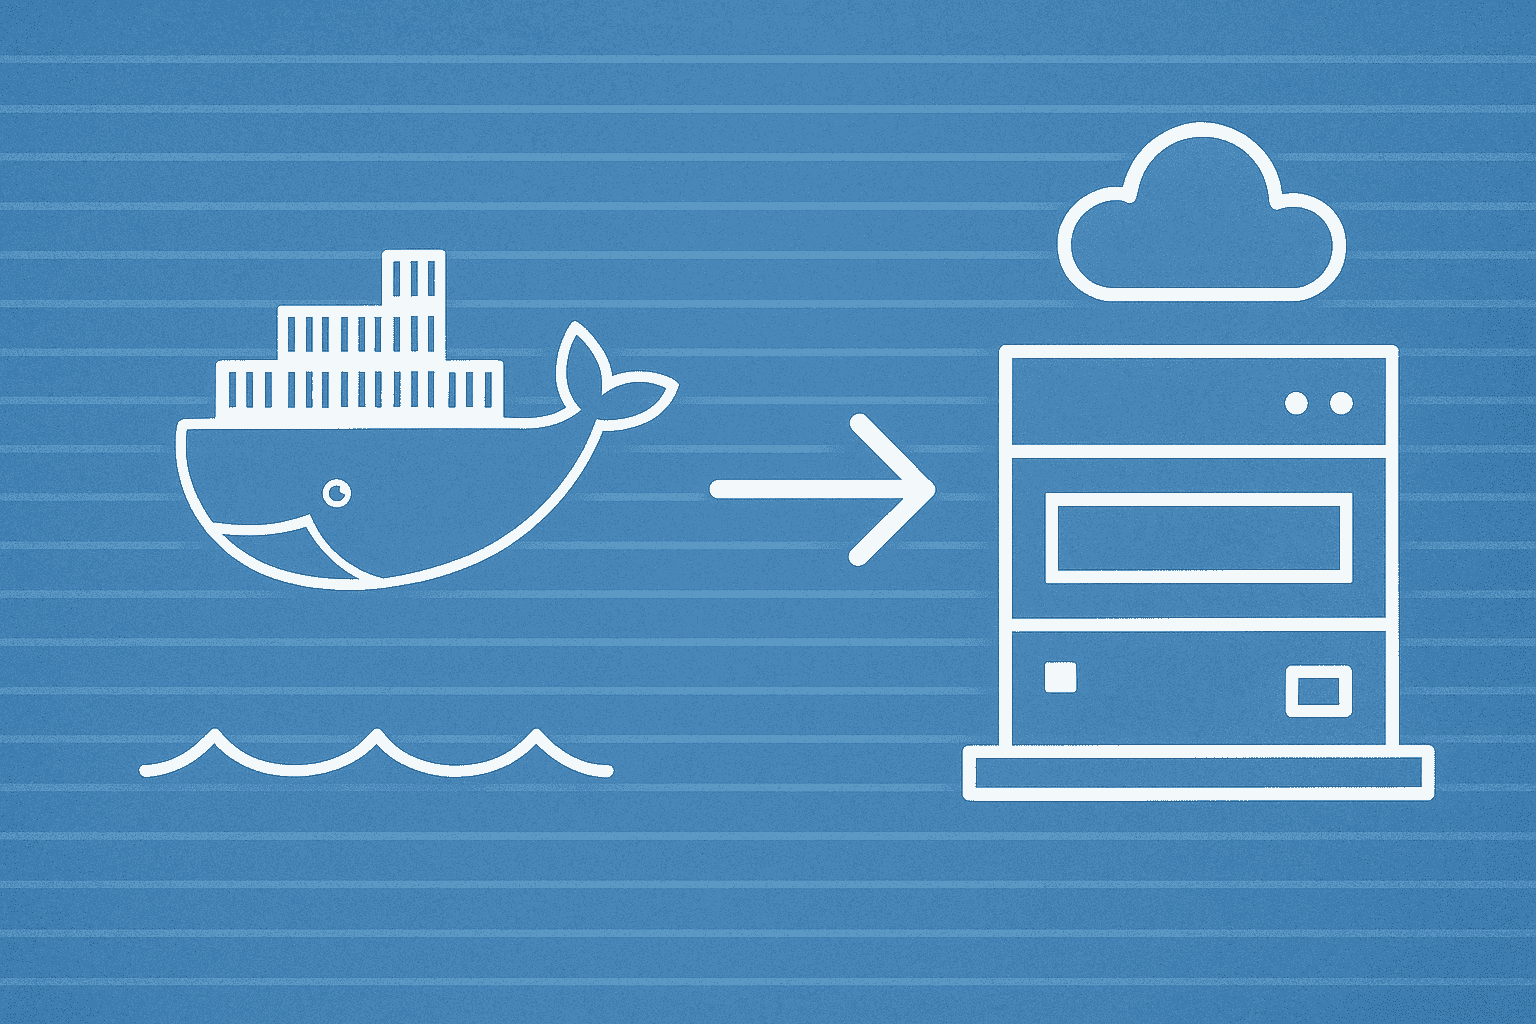
If you’ve ever worked with Docker, you’ve likely faced this common problem: you build an image, and it’s… well, huge. A simple application can sometimes result in a Docker image that’s several gigabytes in size. But why does this happen, and more importantly, how can we fix it?
Read more: What is Infrastructure as Code? From Manual Clicks to Automated Cloud
Traditionally, a Dockerfile acts like a single, continuous recipe. You start with a base image, install development tools, add compilers, fetch dependencies, copy your source code, and finally, build your application. The problem is that every single one of those steps adds a layer to your final image. This means your production image ends up carrying a lot of unnecessary baggage—compilers, build-time dependencies, and intermediate files that have no purpose in a running container.
This leads to several headaches:
- Slow Deployments: Pushing and pulling massive images from a registry takes time.
- High Storage Costs: Storing gigabytes of unnecessary data isn’t free.
- Increased Security Risks: More software (like compilers and build tools) in your image means a larger attack surface for potential vulnerabilities.
Thankfully, Docker provides a powerful and elegant solution to this problem: multi-stage builds. Let’s dive in and see how they can transform your Docker workflow.
Contents
What Are Docker Multi-Stage Builds? A Simple Analogy
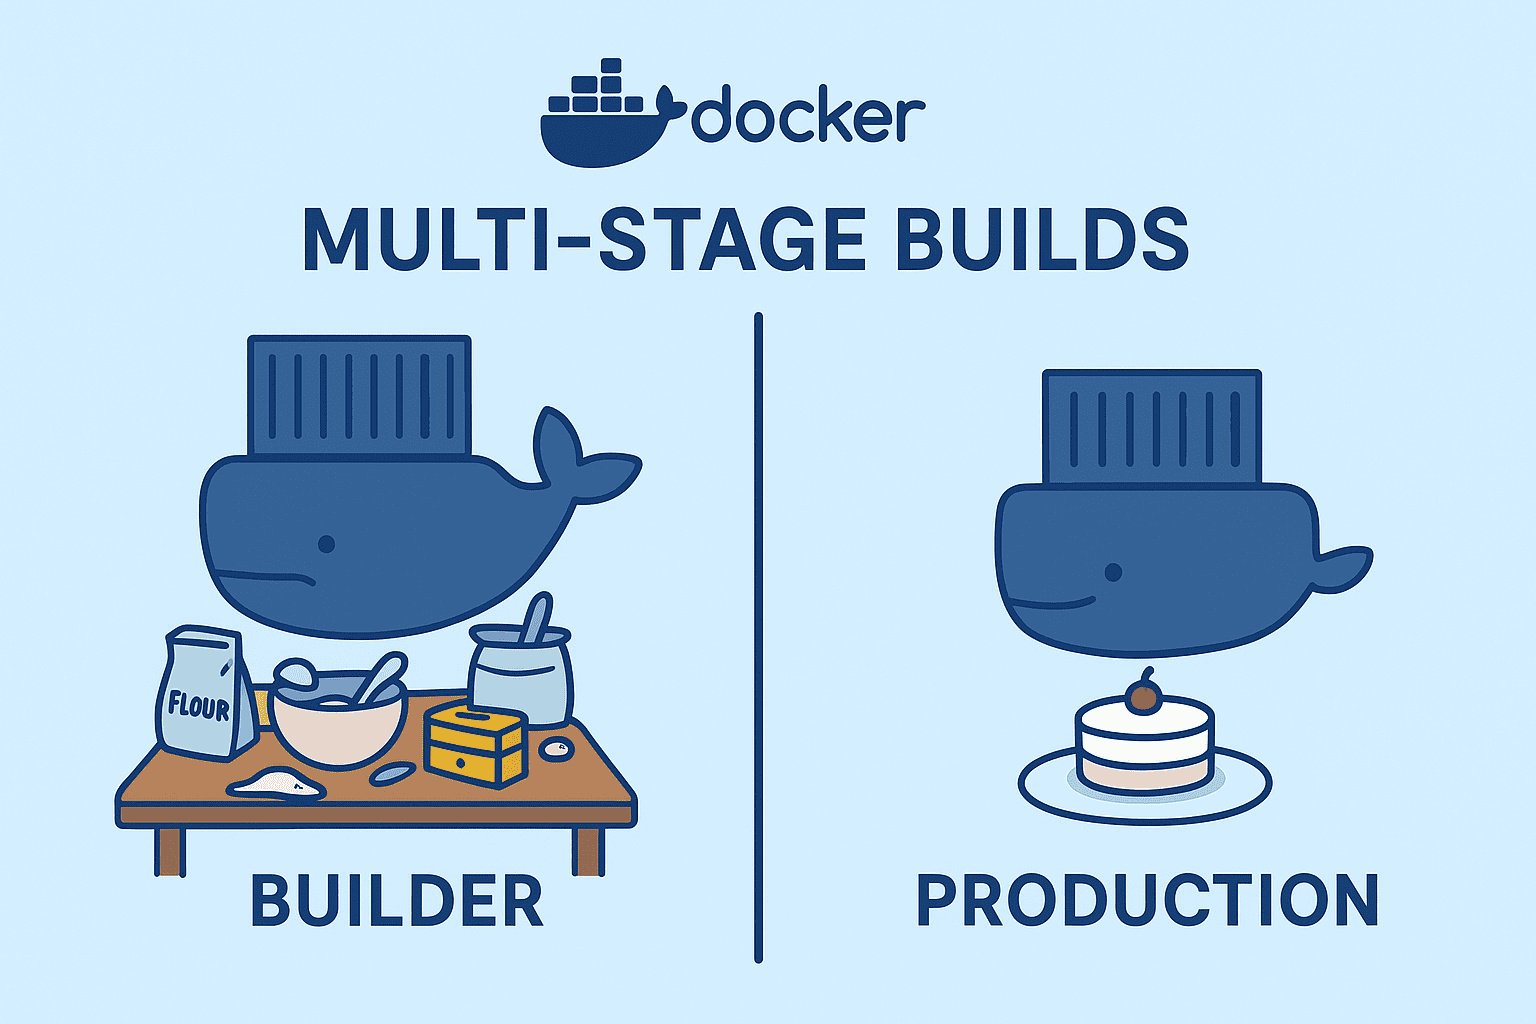
Imagine you’re baking a cake in a professional kitchen.
The single-stage approach is like baking the cake and then serving it to the customer on the same messy table where you mixed the batter, cracked the eggs, and spilled flour everywhere. You’re giving them the final product, but also all the tools and leftover ingredients. It works, but it’s inefficient and cluttered.
The multi-stage approach is the professional way.
- Stage 1 (The Prep Kitchen): You use a large, fully-equipped area to mix your ingredients, bake the cake, and let it cool. This is your build environment. It has all the tools you need (
compilers,-devpackages, etc.). - Stage 2 (The Serving Plate): Once the cake is ready, you take only the finished cake and place it on a clean, beautiful serving plate. This is your final production image. It’s lean, clean, and contains only what’s necessary to serve the application (the cake).
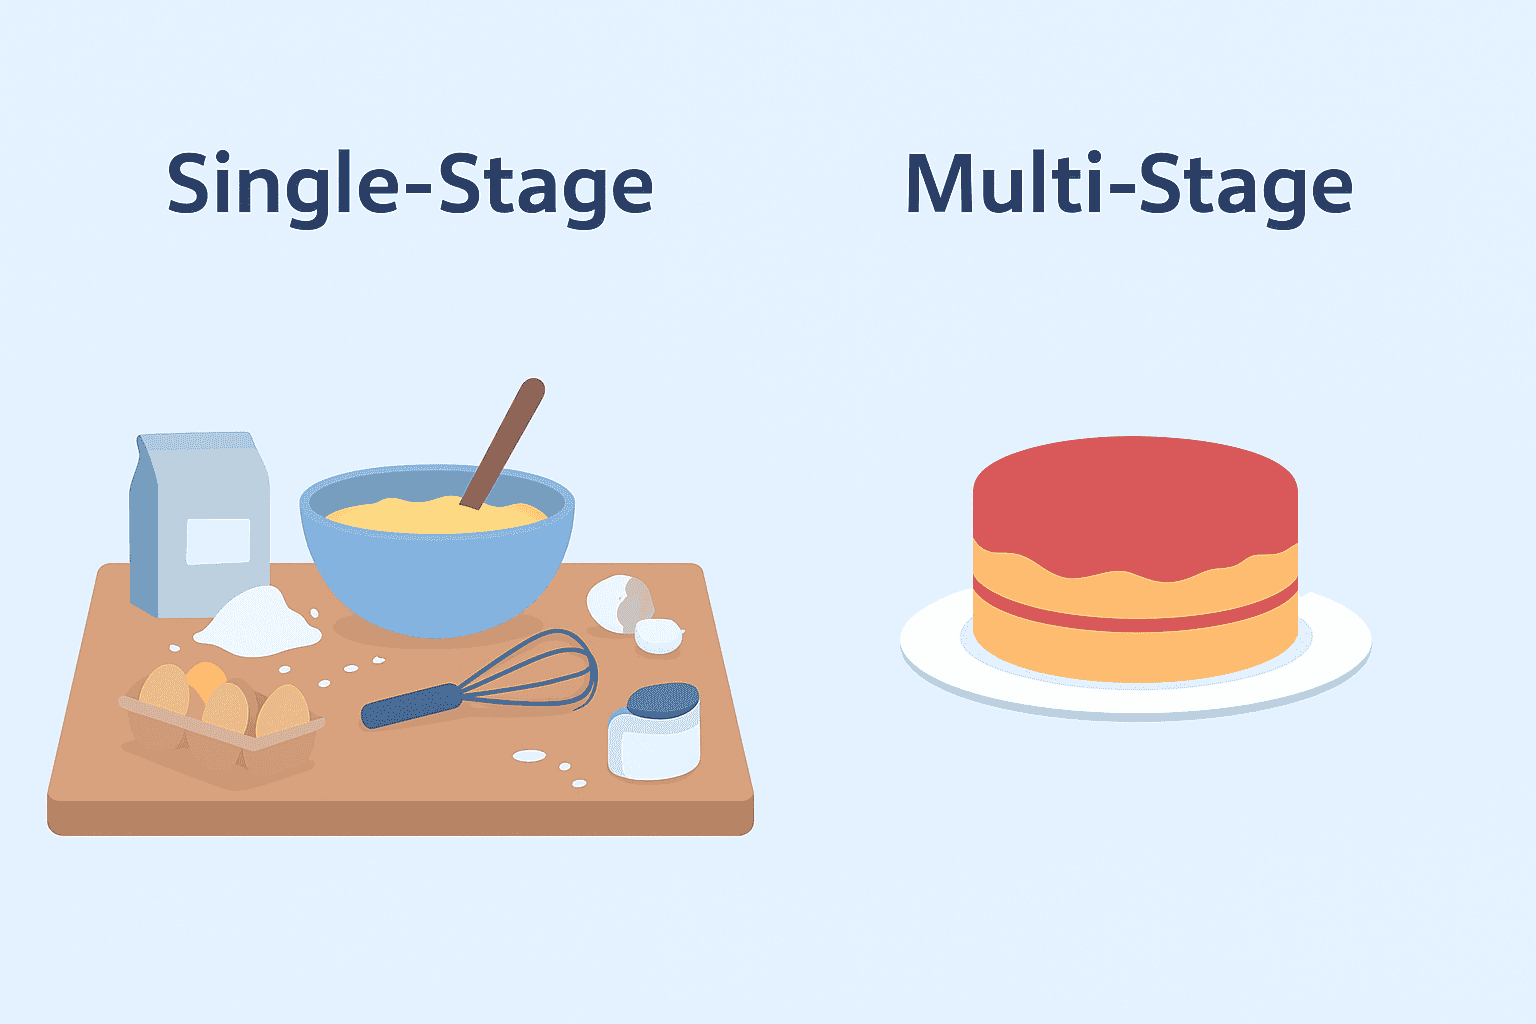
A multi-stage build in Docker works the same way. You use one or more temporary stages to build and compile your application, and then you copy only the necessary artifacts into a clean, final stage.
A Practical Example: Slimming Down a PHP Application
Let’s put theory into practice. Below is a fantastic example of a multi-stage Dockerfile for a PHP application. We’ll break it down step-by-step to understand the magic.
Stage 1: The “Builder”
This first stage is our prep kitchen. Its sole purpose is to compile the PHP extensions our application needs. We name this stage builder using the AS builder syntax. This name is crucial as we’ll use it to reference this stage later.
# ---- Builder Stage ----
# This stage installs build dependencies and compiles the required PHP extensions.
FROM php:8.1-apache-bookworm AS builder

# Install build-time dependencies for PHP extensions
# These are packages like libsnmp-dev and libfreetype6-dev, which are
# needed to COMPILE the extensions but not to RUN them.
RUN apt-get update && \
    apt-get install -y --no-install-recommends \
    libsnmp-dev \
    libfreetype6-dev \
    libjpeg62-turbo-dev \
    libpng-dev \
    libonig-dev \
    && apt-get clean && rm -rf /var/lib/apt/lists/*

# Configure and install PHP extensions
# This command compiles the extensions from source.
RUN docker-php-ext-configure gd --with-freetype --with-jpeg \
    && docker-php-ext-install -j$(nproc) pdo_mysql mysqli snmp gd mbstring bcmath
At the end of this stage, Docker has an intermediate image that contains all the development headers, the source code for the extensions, and the final compiled extension files (.so files). We don’t need any of that junk in our final image—we only want the compiled files.
Stage 2: The Final Production Image
Now for the main event. This stage will become our final, lightweight image. Notice that we start again with a fresh FROMinstruction. This image knows nothing about the builder stage… yet.
# --- Final Stage ----
# This stage builds the final, lean image for production.
FROM php:8.1-apache-bookworm

ENV DEBIAN_FRONTEND=noninteractive

# Install ONLY runtime dependencies
# Notice we install 'snmp' not 'libsnmp-dev'. We only need the
# libraries to run the app, not the development files to build it.
RUN apt-get update && \
    apt-get install -y --no-install-recommends \
    default-mysql-client \
    snmp \
    fping \
    graphviz \
    rrdtool \
    whois \
    ipmitool \
    python3 python3-pymysql \
    wget unzip git cron \
    libfreetype6 libjpeg62-turbo libpng16-16 libonig5 \
    && apt-get clean && rm -rf /var/lib/apt/lists/*

# The Magic Happens Here!
# Copy compiled PHP extensions and their configuration from the builder stage
COPY --from=builder /usr/local/lib/php/extensions/ /usr/local/lib/php/extensions/
COPY --from=builder /usr/local/etc/php/conf.d/ /usr/local/etc/php/conf.d/

# Set up the web root and copy application files
WORKDIR /opt/observium
COPY . /opt/observium

# Set permissions and configure the server
RUN chown -R www-data:www-data /opt/observium
RUN chmod +x scripts/*.sh scripts/*.php
COPY observium.conf /etc/apache2/sites-available/000-default.conf
RUN a2enmod rewrite
RUN { echo 'display_errors = On'; echo 'error_reporting = E_ALL'; } > /usr/local/etc/php/conf.d/99-observium.ini

# Expose the port and set the entrypoint
EXPOSE 80
COPY docker-entrypoint.sh /docker-entrypoint.sh
RUN chmod +x /docker-entrypoint.sh
ENTRYPOINT ["/docker-entrypoint.sh"]
The most important lines are the COPY --from=builder commands. This instruction tells Docker: “Go back to the builder stage, find the specified folder, and copy its contents into my current stage.”
By doing this, we cherry-pick the exact artifacts we need (the compiled extensions and their config files) and leave behind all the build-time dependencies and intermediate clutter. The result is a lean, clean, and production-ready image.
Benefits of Multi-Stage Builds
Adopting this pattern in your projects yields significant advantages:
- Drastically Smaller Image Size: This is the most celebrated benefit. By shedding all the build-time weight, it’s not uncommon to see image sizes shrink by 50% to 80% or more. Smaller images are faster to pull, push, and deploy.
- Enhanced Security: A smaller image has a smaller attack surface. By excluding build tools like
gcc,make,git, or development libraries, you remove potential vectors for vulnerabilities from your production environment. - Improved Build Performance: Docker is smart about caching. If your build stage doesn’t change, Docker can reuse its cache. More importantly, if the final artifacts copied from the build stage are identical, the final stage’s cache can also be reused, speeding up subsequent builds.
- Cleaner, More Maintainable Dockerfiles: Separating the build logic from the runtime logic makes your
Dockerfilesmuch easier to read and understand. It clearly communicates which dependencies are for building and which are for running.
Conclusion: Build Smart, Not Hard
Multi-stage builds are more than just a cool feature; they are a Docker best practice. They directly address the fundamental problem of image bloat, leading to a more secure, efficient, and cost-effective development lifecycle. By separating your build and runtime environments, you ensure that your final image is as lean and optimized as possible.
So, the next time you write a DockerfileTake a moment to think about the kitchen. Are you serving your customers a clean plate, or are you handing them the messy mixing bowl too? Go ahead, refactor your Dockerfiles to use multiple stages, your DevOps pipeline will thank you!
